

Install Elasticsearch and Kibana 8 in notime and take a peek at the latest improvements
This installation guide takes Ubuntu 18.04 LTS as a base. Therefore deb-packages are used. The whole installation process is also well documented in the official documentation. I hope this condensed installation guide can save you time.
Download Elasticsearch 8
Open a terminal, add the PGP-key, add the repo for ELK8 and install Elasticsearch:
wget -qO - https://artifacts.elastic.co/GPG-KEY-elasticsearch | sudo apt-key add -
sudo apt-get install apt-transport-https
echo "deb https://artifacts.elastic.co/packages/8.x/apt stable main" | sudo tee /etc/apt/sources.list.d/elastic-8.x.list

sudo apt-get update && \
    sudo apt-get install elasticsearch=8.0.0 && \
    sudo apt-mark hold elasticsearch
Save the Security autoconfig information
This is important. Save the following information that the installation routine has dumped to the console, you will need it later:
The generated password for the elastic built-in superuser is : 44TDAhD5bo9kHbqZYS*j

If this node should join an existing cluster, you can reconfigure this with
'/usr/share/elasticsearch/bin/elasticsearch-reconfigure-node --enrollment-token <token-here>'
after creating an enrollment token on your existing cluster.

You can complete the following actions at any time:

Reset the password of the elastic built-in superuser with
'/usr/share/elasticsearch/bin/elasticsearch-reset-password -u elastic'.

Generate an enrollment token for Kibana instances with
 '/usr/share/elasticsearch/bin/elasticsearch-create-enrollment-token -s kibana'.

Generate an enrollment token for Elasticsearch nodes with
'/usr/share/elasticsearch/bin/elasticsearch-create-enrollment-token -s node'.
Configure and start Elasticsearch
Reload the systemctl-daemon:
sudo systemctl daemon-reload
sudo systemctl enable elasticsearch.service
Now change the yml-file /etc/elasticsearch/elasticsearch.yml in this manner:
cluster.name: cluster_3
node.name: srvelk8
path.data: /var/lib/elasticsearch
path.logs: /var/log/elasticsearch
network.host: srvelk8.local.ch
http.port: 9200
xpack.security.enabled: true
xpack.security.enrollment.enabled: true
xpack.security.http.ssl:
  enabled: true
  keystore.path: certs/http.p12
xpack.security.transport.ssl:
  enabled: true
  verification_mode: certificate
  keystore.path: certs/transport.p12
  truststore.path: certs/transport.p12
cluster.initial_master_nodes: ["srvelk8"]
http.host: [_local_, _site_]
transport.host: [_local_, _site_]
Make sure that your local /etc/hosts file (and the /etc/hosts file on the workstation that will access Kibana) has an entry for your host like (add you IP address, Elastic wants also a valid DNS format, you cannot shortcut it):
192.168.1.xxx srvelk8 srvelk8.local.chNow start Elasticsearch:
systemctl start elasticsearchInstall, configure and start Kibana
In case of trouble, you might find answers in the official documentation. Now install Kibana:
sudo apt-get update && sudo apt-get install kibana=8.0.0 && sudo apt-mark hold kibanaAs soon as the installation is done, create the enrollment token for Kibana:
/usr/share/elasticsearch/bin/elasticsearch-create-enrollment-token -s kibanaSave the token, you will need it later for login into Kibana.
Change /etc/kibana/kibana.yml:
server.port: 5601
server.host: "srvelk8.local.ch"
server.name: "srvelk8"
elasticsearch.hosts: ["http://localhost:9200"]
logging:
  appenders:
    file:
      type: file
      fileName: /var/log/kibana/kibana.log
      layout:
        type: json
  root:
    appenders:
      - default
      - file
pid.file: /run/kibana/kibana.pid
Start Kibana:
sudo systemctl daemon-reload && sudo systemctl start kibana
systemctl status kibana
After a few seconds, you should see with „systemctl status Kibana“ the following log entry:
Feb 12 10:37:31 srvelk8 kibana[4936]: i Kibana has not been configured.
Feb 12 10:37:31 srvelk8 kibana[4936]: Go to http://srvelk8.local.ch:5601/?code=631096 to get started.
Open that link and paste the Kibana enrollment token:
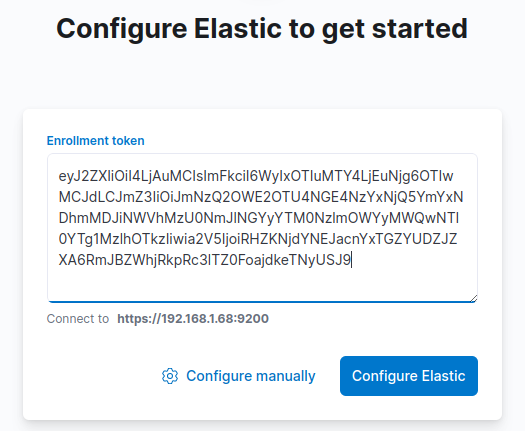
Press „Configure Elastic“ and wait until the cluster is configured. Now log in with ‚elastic‘ and the password that was provided, after you installed Elasticsearch:

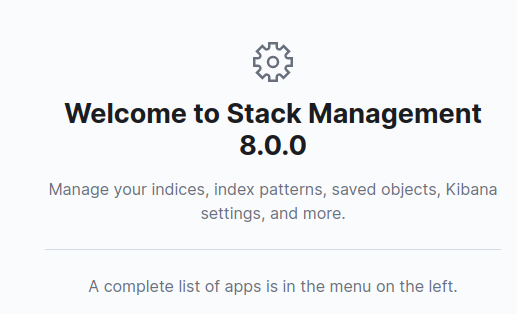
Tadaaa:
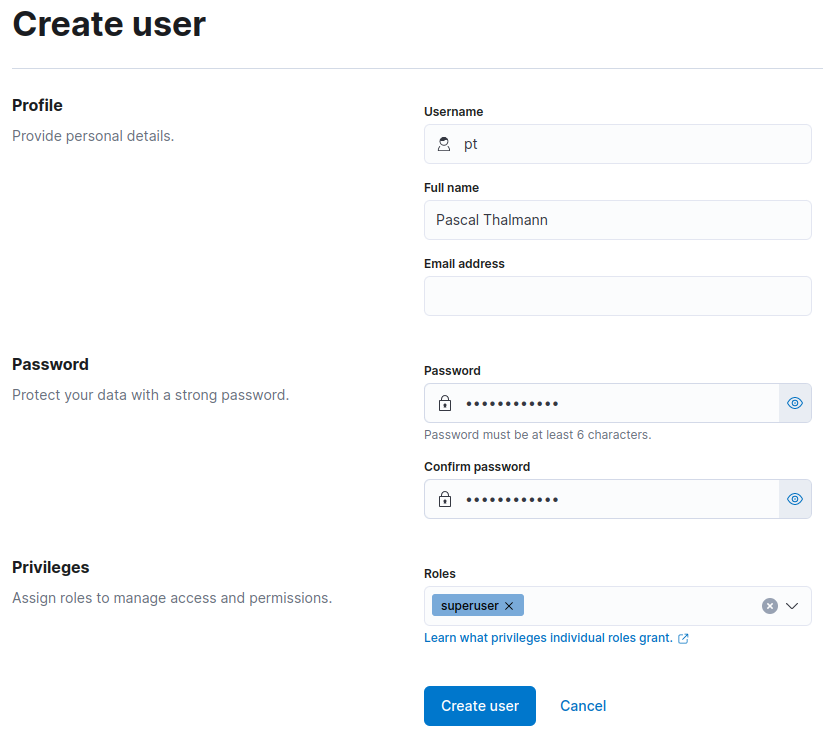
Now go to „Stack Management“ -> „Users“ and create your user. Add the „superuser“ role:
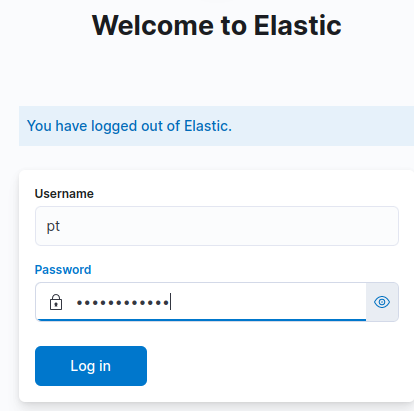
Log out and log in with your newly created user again:
Log out:
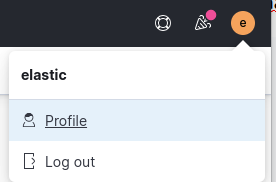
And login again with your newly created user:
And that’s it! Congrats if you made it until here, enjoy your new Elastic-Cluster!