

Welcome to the second part of the Elasticsearch Python workshop. This series will set the focus from a Python programmer’s perspective and I hope I can shed some light on the mini-ecosystem that has been building up with Python clients and tools to extra data from an Elasticsearch cluster. Especially when you are a data scientist, this series might save you some time. Like in all workshops: to keep the article compact, I cut the code into snippets. But you can download the complete code from the GitHub repo for this workshop. With that being said, let’s jump right in.
Let’s create a simple connection. If you are using Elasticsearch version 8.0.0 and above, please check the first workshop to create a secured connection.
from elasticsearch import Elasticsearch
es = Elasticsearch(["https://username:password@srvelk:9200"], verify_certs=False)
Elasticsearch class
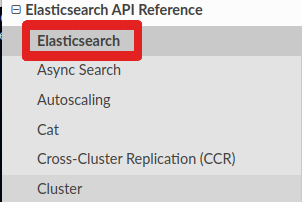
Since our connection is created with the Elasticsearch class, the most basic API calls are available as methods directly from this class. These methods are listed directly under module „Elasticsearch„:
Create an index and a document
Let’s create an index and a document with the „create“ method. From the official documentation:
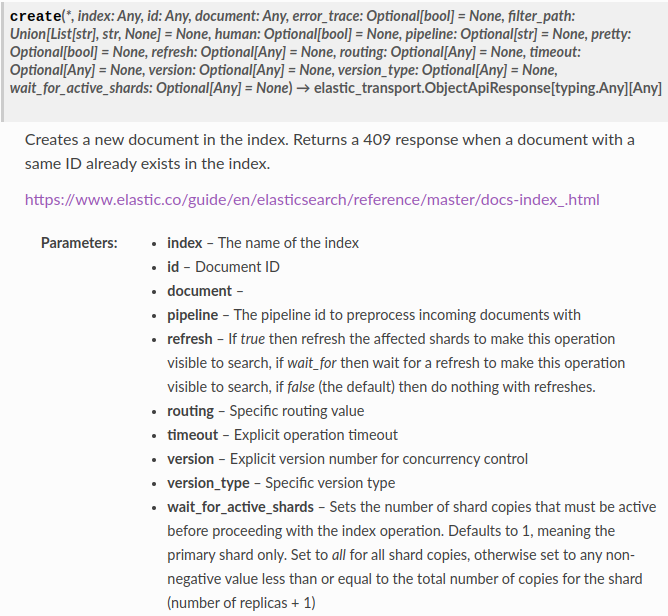
The call looks like this:
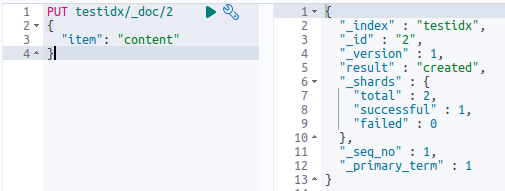
response = es.create(index='testidx', id=1, document='{"item": "content"}')Let’s have a look at the response of our API call:
print(json.dumps(response, indent=4))
{
    "_index": "testidx",
    "_id": "1",
    "_version": 1,
    "result": "created",
    "_shards": {
        "total": 2,
        "successful": 1,
        "failed": 0
    },
    "_seq_no": 0,
    "_primary_term": 1
}
We can test the status:
if response['result'] == 'created':
   print("document created")
Get a document
Let’s use the get method to read the document:
response = es.get(index='testidx', id=1)
print(json.dumps(response, indent=4))
{
    "_index": "testidx",
    "_id": "1",
    "_version": 1,
    "_seq_no": 0,
    "_primary_term": 1,
    "found": true,
    "_source": {
        "item": "content"
    }
}
That is the same response as you get it with curl or in Kibana:
Search documents
A call of the search API looks like this:
es.search(index="testidx", body={
  "query": {
     "match_all": {}
   }
 })
Using the CatClient Class (and any other)
When you take a look at the official documentation, you will see, that the library has an abundant collection of classes. Nevertheless, for beginners, it might be a bit confusing how to call them.
For example, the call of the CatClient (or in Elastic-terminology the „_cat“ API) is:

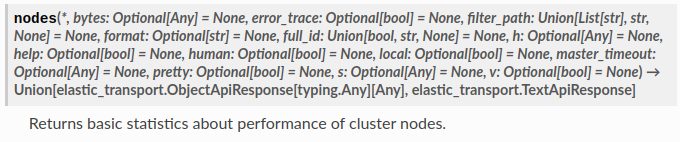
You can import the whole elasticsearch library and use the existing „es“ object (your already established connection) as an argument. You call then the method, in this case, the node() method:
>>> elasticsearch.client.cat.CatClient(es).nodes()
'192.168.1.68 44 85 1 0.07 0.04 0.01 cdfhilmrstw * srvelk8\n'
Looks strange, right? There is a better way: the imported class „elasticsearch.Elasticsearch“ includes all the classes of the elasticsearch-library as objects. Let’s see what we find in the __dict__ attribute of the class:
print(es.__dict__['cat'])
<elasticsearch.client.cat.CatClient object at 0x7ff874e24160>
If you call the Elasticsearch class with the argument „cat“, you basically call the CatClient class. This way, you can call the nodes method of the CatClient class with a fairly short syntax.
>>> es.cat.nodes()
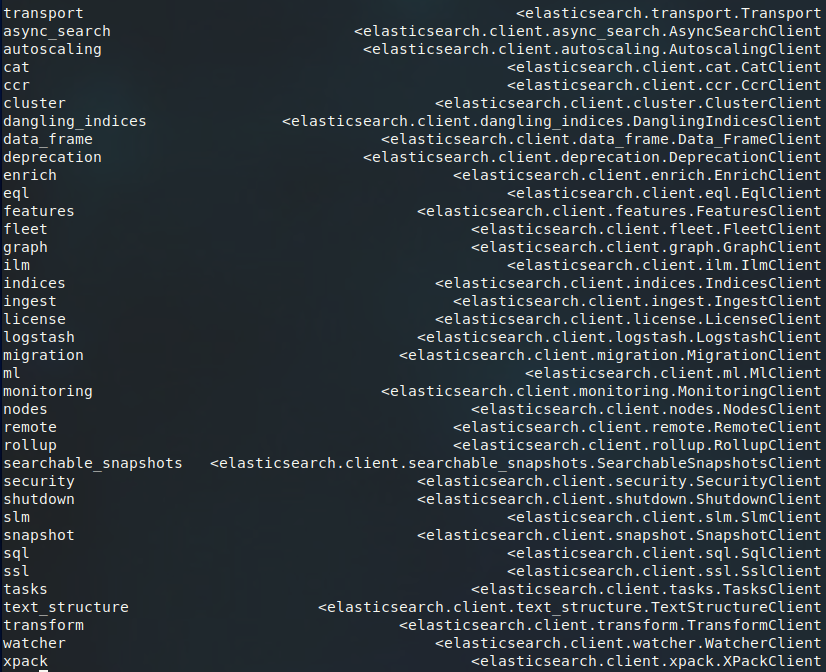
'192.168.1.68 44 85 1 0.49 0.22 0.08 cdfhilmrstw * srvelk\n'Table of Elasticsearch attributes representing the Elasticsearch APIs
Here is a compilation of the attributes (left) and the classes (right) that are stored in __dict__ as objects:
Conclusion
If you made it here, congratulations! You should now be able to use all classes of the Python Elasticsearch client and therefore the most used Elasticsearch APIs. Please consult the official documentation or leave me a comment in case of trouble. You can also connect with me or follow on linked-In.
If Google brought you here, you might check the other parts of the series as well. See you in the next part!